We are now at Day 7 of the
Have you managed to guess the theme
we are all following?
The colour scheme is obviously
black, white and silver (grey),
But what is the theme?
Here is my RAK layout with a
title, photo and subtitle.....

Let me show you how I put it together.....

Above are all the elements to make the layout....
The black base is 12 x 12 Bazzill
The flourish stamps are Hero Arts 'Feather Grass'
Stripy paper is Delish Designs 'Vanilla Bean - Stripe'
Dotty paper is A4 Cristina Re
The wee label at the bottom of the photo is
Cuttlebug - details as we go.....

Above are all the Cricut cuts -
from Pagoda cartridge.....
Pagoda, page 61 of handbook @ 7 inches
Crane, page 39 @ 2.5 inches
Lilies, page 53 @ 5 inches
From George cartridge -
Oval, page 114 @ 7 inches.....

Trim 2 pieces of stripy paper to 29.5 cm x 6 cm
Attach to top and bottom of Bazzill base,
leaving an even border around the edge,
as shown....
 Make the photo mats -
Patterned paper = 15.5 cm x 10.5 cm
White c/s = 16 cm x 11 cm
Black c/s = 16.75 cm x 11.75 cm
Layer the mat pieces together.....

Trim dotty paper to 29.5 cm x 21 cm (A4)
and position centrally on Bazzill base -
but DO NOT attach at this stage....
Position layered photo mats (but DO NOT stick)
to desired position to help
determine positioning for stamping....
Stamp desired image to pre-determined
position - it is easier to stamp BEFORE
the paper is stuck to the layout
- and if you get it wrong, just do it again -
it's not stuck down yet!!!

Once happy with stamped image,
attach dotty paper centrally to Bazzill base,
again leaving even border around edges.....


Now attach ribbon to both paper joins.....
This is how I get it straight - every time.....

I make sure my layout is straight on my working mat.....
Then I stick my double sided tape to the paper
- extending it beyond the layout -
so that it is now stuck to the mat -
as above....

Remove backing from tape,
leaving it attached to working mat.....

Position length of ribbon onto double sided tape
- extending over edge -
dead straight, every time.....
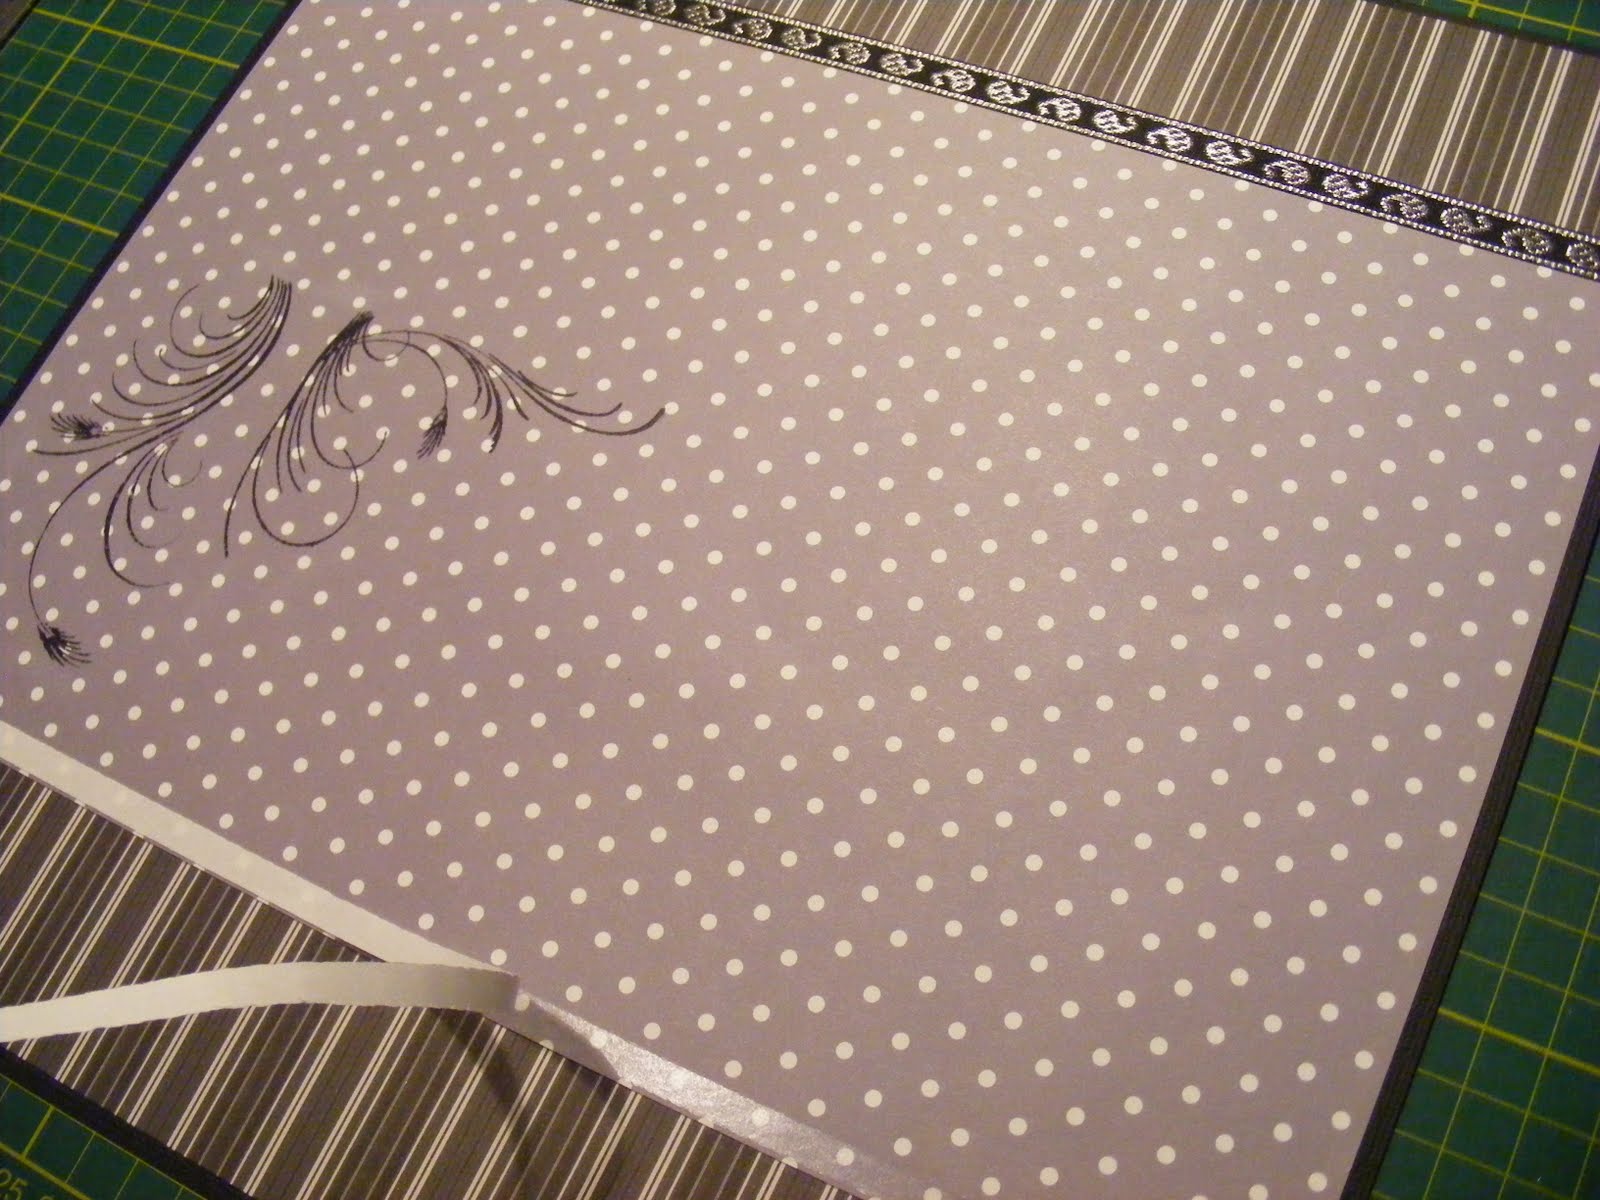
Repeat for other side of layout.....

Lifting excess ribbon,
with double sided tape attached,
and wrapping around to the back for a
lovely neat finish, as below.....


Once ribbon is in place,
attach white cardstock oval to
left hand side of layout,
evenly between the ribbons.....

Attach grey base of Pagoda directly
onto white oval, with double sided tape
(keeping it flat on the layout)
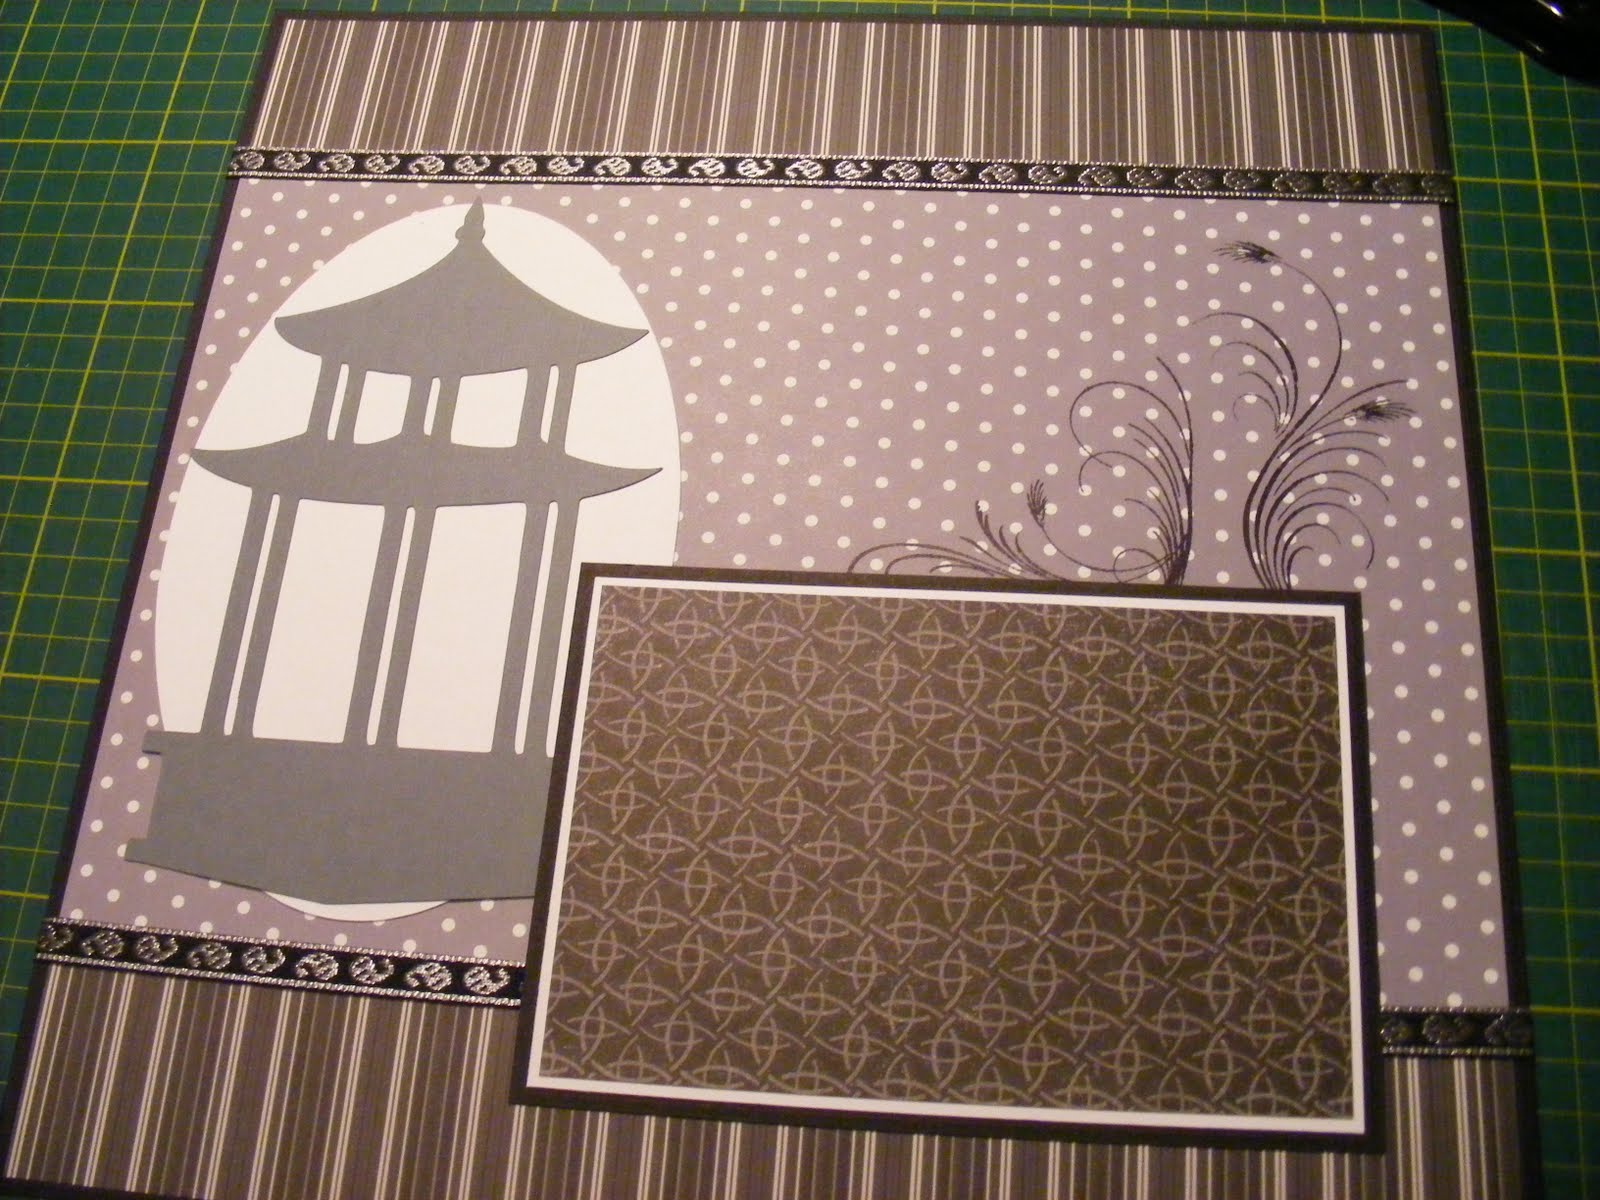
Then attach layered photo mats,
overlapping oval and grey base of Pagoda.....
Keeping in mind the positioning of
your stamped image.....

Using foam mounting squares,
attach black layer of Pagoda
directly on top of grey base layer.
Remember NOT to put mounting tape
on part of Pagoda that will overlap
photo mats, unless you have already
attached your photo.....


Below is a photo of me holding back the
attached Pagoda to show that
none is stuck to the photo mats.....

Now to show you these amazing new cut,
emboss and ink folders from Cuttlebug.....

I have used the 'Fanciful Labels' set
- the top left label.....
Shown here with my wee piece of cardstock.....
 With front of packaging facing you, lift the cover.....

Place cardstock upside down on bottom plate.....

Close cover over and run through
 With front of packaging facing you, lift the cover.....
This is what you get - two green plates -
a positive and a negative.....

Place cardstock upside down on bottom plate.....

Close cover over and run through
Cuttlebug or Big Shot.....

The 'sandwich' for the Big Shot

Once you have ran the whole folder through the

When you lift the main backing card

Now for the best bit -

I have used Brilliance Graphite Black

The 'sandwich' for the Big Shot
(which I find works best) is.....
On the bottom - main white plate
Then clear plate
Then Cuttlebug folder
Then a shim
(another clear plate makes the sandwich
too thick to go through the Big Shot)
Sorry, I don't have a Cuttlebug
to test the thickness of 'sandwich' required.....

Once you have ran the whole folder through the
Cuttlebug or Big Shot,
turn it over so the BACK of the folder is facing you.....

When you lift the main backing card
you will find a clear plastic cover,
lift this up, can be a bit fiddly, as below......

Now for the best bit -
just ink your die cut piece directly through the folder,
as below.....

I have used Brilliance Graphite Black
- I love its depth of colour.....
Ink the whole label.....

THEN lift the green plate, and voila,

Remove cardstock from plates.....

Discard excess cardstock - perfect.....

I used a baby wipe to clean the ink from the plates,

I applied a K & Co rub on word to the label

Assemble lily pieces together


Attach the Crane to the centre of the layout,


Here is my photo in place,

The subtitle 'Hong Kong' is cut at 0.75 inches

THEN lift the green plate, and voila,
a beautifully inked label
- only the embossed edges are inked.....

Remove cardstock from plates.....

Discard excess cardstock - perfect.....

I used a baby wipe to clean the ink from the plates,
ensuring all three surfaces were clean,
amazing the spaces ink can get into,
and it looks brand new again.....
Love these folders -
will be using them again in future projects.....

I applied a K & Co rub on word to the label
and attached it to the layout with
foam mounting squares.....

Assemble lily pieces together
and attach to layout either side of photo mat.....
Again ensuring that nothing sticks
to the photo mats, as before.....
I have again used foam mounting squares.....


Attach the Crane to the centre of the layout,
using foam mounting squares,
and use a silver pen to give him an eye.....


Here is my photo in place,
which is a 6 inches x 4 inches,
just slipped in behind the elements
and attached with a wee bit of double sided tape.....
The photo is of a temple along our route
while we were travelling around Hong Kong in April
- there were hundreds of these buildings on our travels -
I just wanted to capture one of them.....

The subtitle 'Hong Kong' is cut at 0.75 inches
from Jasmine cartridge.....

The main title 'Temple' is also from

The main title 'Temple' is also from
Jasmine at 1.75 inches.....

I kept the title in this dark green

So, there we have it - too easy.....


Here are the two layouts together.....


I kept the title in this dark green
as I didn't want it to dominate the page,
which it would have done if I had cut it in white,
and there is already enough black on the page!!

So, there we have it - too easy.....


Here are the two layouts together.....
Yours and mine.....

to be in the draw to win this layout
and my card from the Blog Hop,
and make sure you're a Follower......


And remember to head over to Scrappy Go Lucky
and enter your guess at the theme of our
BLOG HOP at the ORIGINAL post - HERE.....
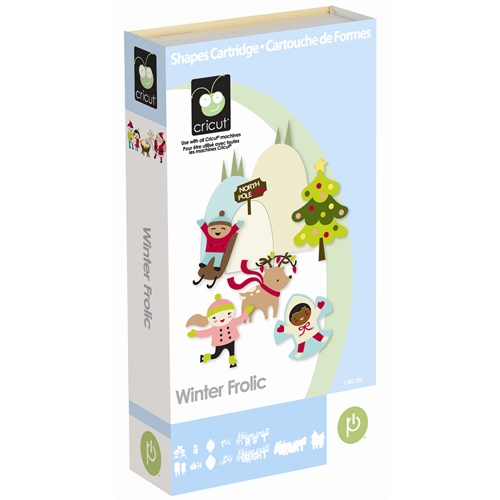
The four latest release cartridges from Cricut
are for the winning -
Happy Hauntings,
Country Life,
Rock Princess and
Winter Frolic.....
Good Luck.....
Hugs
Jane x